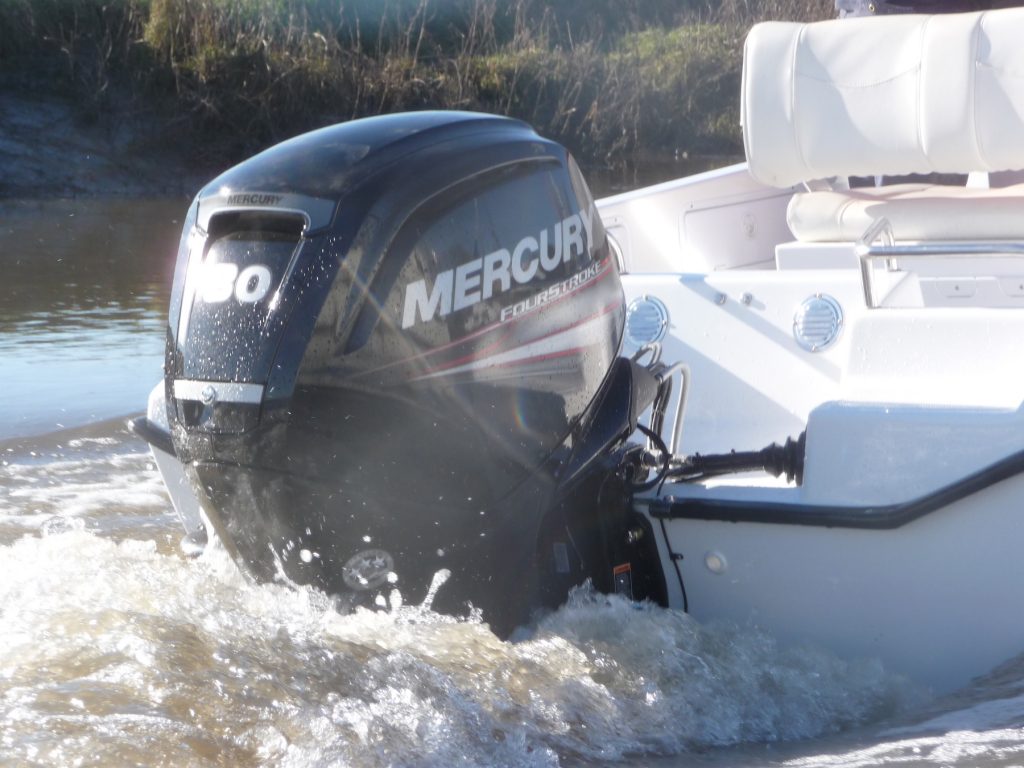
WINTERISING YOUR OUTBOARD MOTOR
by Ray Jackson

There is little doubt that poor maintenance does more damage to outboard motors than high usage, and failure to properly winterise an outboard motor can result in serious, possibly terminal damage. So, how do you go about winterising an outboard motor?
If your outboard motor is still under warranty, then it is probably better to ask your service engineer to service and winterise your outboard (ideally at the same time, every autumn) thereby preserving your warranty. But if warranty isn’t a concern, and you’d rather do it yourself, then hopefully you will find the guidance below useful.
If you are not confident after reading this guidance, then please, please, use a reputable service engineer to do this work for you. One of the advantages of using an experienced, conscientious outboard engineer (our own is excellent) is that potential faults may be spotted early, before they become serious and expensive to rectify. At the very least it could save ruining a precious day on the water!
1. Treat the Fuel
Modern fuels do not store well, even petrol for 4-stroke engines cannot now be left untreated in the tank over winter, so the first job is to add a fuel stabilizer to the petrol. (In truth, it’s probably good idea these days to use a fuel stabilizer at every fill-up, all year round!)
2. Protect the Inside
For 2 stroke engines, while the engine is idling, spray fogging oil into the carburettor. This will coat the inside of the engine in a protective film of oil and will help to protect parts such as the big ends. This job is harder than it sounds, the throttle will need to be increased as you spray the fogging oil to prevent the engine from stalling and you will ideally run the carburettor out of petrol just as you finish fogging.
For 4-stroke engines add 2-stroke oil to the tank at the ratio of 1 part oil to 100 parts petrol. This will leave a protective film of oil around such parts as the cylinders and valves. This is better than using fogging oil squirted in through the spark plug hole, as advised in most outboard handbooks, as fogging oil is unlikely to coat all-round the cylinder and will probably not get to the valves.
3. Flush the Engine
All outboard motor manufacturers recommend flushing their engines with clean water after each saltwater use to avoid internal corrosion of the engine’s aluminium waterways. The truth is, not everyone flushes their engine after every trip, but leaving it with corroding salt inside its waterways, over the long winter months, is really asking for trouble! For this reason, the next step is to flush the outboard through with fresh water. (Treating the fuel before flushing the engine serves to put a protective layer of fogging oil or 2-stroke oil inside the cylinders and around the valves etc.)

If you’re not sure how to flush an outboard, please see our previous blog, “Outboard Motor Flushing”.
4. Run the Engine Out of Fuel
Once the engine has been thoroughly flushed, stop the engine, turn off the fuel, restart the engine, and then run the engine until it stops through lack of fuel. If your engine is 2-stroke (i.e. you mix the fuel and oil manually) it is worth emptying the tank, too, since the fuel and oil can separate over winter, meaning the engine will have insufficient lubrication when you start it, the following season.
5. Drain the Engine Cooling System
After this is done, make sure the engine is thoroughly drained of water to avoid the risk of damage through the freezing of any trapped water. (Most engines drain better when vertical.)
6. Check the Spark Plugs
The next job (when the engine has cooled sufficiently) is to remove and inspect the spark plugs, checking both the condition of the electrodes and the electrode gap. If there’s any doubt, fit new spark plugs, especially if your engine is 2-stroke, since many 2-stroke problems are caused by poor spark plugs.
7. Change the Oils
Oils lose their properties over time, absorbing moisture, and becoming contaminated with minute particles of metal, so this is a good time to change all the outboard’s oils, so there’ll be fresh, corrosion-resisting oils in the engine over winter.
Change the gear oil in the lower leg by following the instructions in your outboard motor owner’s manual.
If your engine is 4-stroke, change the engine oil and replace the oil filter.
Always use proprietary outboard oils, since they have additives to help deal with water, and check your outboard manual to ensure you are buying the correct specification.
8. Greasing
Apply a suitable water-resisting grease to the propeller shaft and to all moving parts, joints, cable ends, nuts and bolts etc. Most outboards will have at least a couple of grease points for which you will need a grease gun.


9. Clean and Wax
To maintain the appearance of your outboard, wash the exterior of your outboard using a boat or car shampoo (don’t use washing-up liquid, most contain salt). Finish with a wax polish, again using a good quality boat or car wax.
10. Engine Storage
Ideally, store the engine vertically in a dry area, this will ensure the engine drains of all water. Obviously, this is not possible if you leave your engine on the boat and your boat in the water. In this case, you will have to balance the risks of freezing against leaving your leg in the water to corrode and foul up. Engines left in the tilted position will trap water in the bottom of the leg which could freeze and crack the leg casting.
11. Battery Storage
Nothing kills a battery faster than storing it uncharged in low temperatures, so it is always best to remove the battery from the boat and store it at home, recharging it at least monthly. Better still, use a modern float charger that will continually monitor the charge of the battery and top it up as necessary. And while you’re on, clean the outside of the battery, and clean and grease the terminals.